The Imperative of Quality Artwork Photography for Portfolios
Presenting artwork effectively hinges significantly on the quality of its photographic representation. A portfolio, whether digital or physical, serves as your professional introduction to galleries, clients, and collaborators. Subpar photography—characterized by poor lighting, inaccurate colors, or distracting backgrounds—can diminish the perceived value of your work, regardless of its inherent artistic merit. Conversely, meticulously captured images elevate your presentation, ensuring that the integrity and impact of your art translate faithfully to the viewer, fostering trust and professional interest. This guide outlines the precise steps and considerations for photographing your artwork to construct a compelling, high-fidelity portfolio.
Essential Equipment for Artwork Photography
Selecting the right tools forms the foundation for high-quality reproductions. The goal is to capture your artwork with maximum fidelity, minimizing distortion and color shifts.
Camera Choice: DSLRs, Mirrorless, or Smartphone?
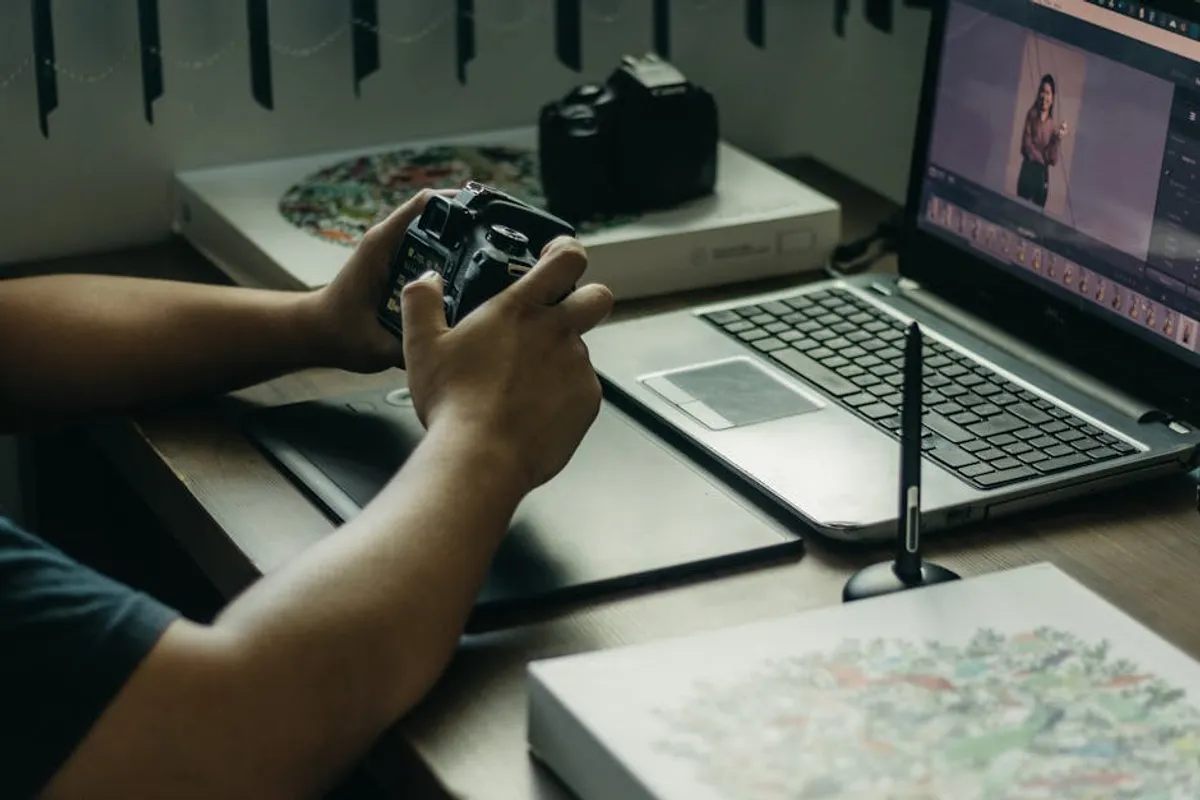
While modern smartphones offer convenience and improving image quality, they often fall short for professional portfolio needs due to limitations in sensor size, lens quality, and manual control. For optimal results, a DSLR or mirrorless camera is recommended. These cameras provide:
- Manual Control: Essential for precise exposure, aperture, and shutter speed adjustments to control depth of field and motion blur.
- Larger Sensors: Capture more light and detail, resulting in higher resolution and better low-light performance.
- Interchangeable Lenses: A prime lens (e.g., 50mm or 85mm) offers superior sharpness and minimal distortion compared to zoom lenses, crucial for flat artwork.
- RAW File Format: Records uncompressed image data, providing maximum flexibility for post-processing color correction and detail recovery without introducing artifacts.
Best for: Professional-grade portfolios requiring high-resolution, color-accurate images.
Lighting Solutions: Natural vs. Artificial
Consistent, even lighting is paramount to avoid shadows, glare, and color casts.
Natural Light: A large window providing indirect, diffused daylight is often ideal. Position your artwork perpendicular to the window to receive even illumination. Avoid direct sunlight, which creates harsh shadows and hot spots. Overcast days offer naturally diffused light, reducing the need for additional diffusers.
Artificial Light: For consistent results independent of weather or time, a controlled artificial lighting setup is necessary. Use two continuous light sources (e.g., LED panels, fluorescent bulbs with high CRI ratings) positioned at a 45-degree angle to the artwork, equidistant from the center. This cross-lighting technique minimizes reflections on glossy surfaces and ensures even illumination across the entire piece. Diffusers (softboxes or translucent umbrellas) are critical to soften the light and prevent harsh shadows.
Pro Tip: When using artificial lights, ensure all light sources are the same color temperature (e.g., 5500K for daylight balance). Mixing different color temperatures will result in inconsistent color rendering and make post-processing significantly more challenging.
Support and Stability: Tripods and Mounts
A sturdy tripod is non-negotiable for sharp, blur-free images. It allows for longer exposures in controlled lighting and ensures consistent framing across multiple shots. Use a tripod with a geared head or a ball head for precise adjustments. For flat artwork, a copy stand setup or a camera mounted on a tripod with a horizontal arm ensures the camera sensor is perfectly parallel to the artwork, preventing keystone distortion.
Best for: Achieving maximum sharpness, consistent framing, and facilitating precise alignment.
Setting Up Your Photography Environment
The environment plays a critical role in controlling image quality, particularly regarding reflections and color integrity.
Controlling Reflections and Glare
Reflections are a common challenge, especially with glazed paintings, framed pieces, or highly textured surfaces. To mitigate this:
- Position your artwork and lights carefully to avoid direct reflections into the camera lens. The 45-degree lighting rule helps.
- Ensure your camera is perfectly parallel to the artwork. Any angle can introduce reflections from the ceiling, floor, or surrounding objects.
- Use black cards or flags positioned strategically around the artwork to block ambient light or reflections from unwanted sources.
- For highly reflective surfaces, consider using a polarizing filter on your lens to reduce glare, though this can sometimes affect color saturation.
Achieving Color Accuracy
Accurate color reproduction is fundamental for an artwork portfolio. Begin by setting your camera's white balance manually. A gray card or color checker target placed next to the artwork during an initial test shot allows for precise white balance correction in post-processing. This ensures that the colors in your photograph precisely match the original artwork. Capture the gray card or color checker in the same lighting conditions as the artwork, then remove it for the final shots.
Background Considerations
The background should be neutral and non-distracting. For flat artwork, a seamless white, black, or neutral gray background is ideal. For three-dimensional pieces, a cyclorama (seamless curved background) or a large sheet of neutral fabric can create a clean, professional presentation. The background should complement, not compete with, the artwork.
The Photography Process: Step-by-Step
Execute the capture phase with precision to minimize post-processing effort and maximize fidelity.
Framing and Composition
Frame the artwork tightly, ensuring the entire piece is visible without cropping any edges. Leave a small, even border around the artwork for clean cropping later. Ensure the camera's sensor is perfectly parallel to the artwork to prevent geometric distortion (keystoning), where the artwork appears wider at the top or bottom. Use a spirit level on your camera's hot shoe or a built-in electronic level if available.
Exposure and Focus Settings
Set your camera to manual mode. Use a low ISO (e.g., 100-200) to minimize noise. Choose an aperture that provides sufficient depth of field for the artwork's texture (typically f/8 to f/11 for flat art, f/11 to f/16 for 3D art). Adjust the shutter speed to achieve correct exposure, ensuring no areas are blown out (overexposed) or completely black (underexposed). Focus manually on the most detailed area of the artwork to ensure critical sharpness.
Capturing Texture and Detail
For highly textured artwork (e.g., impasto paintings, sculptures), subtle raking light (light from a very low angle) can highlight surface variations. Experiment with slight adjustments to light placement to emphasize texture without creating harsh shadows. For three-dimensional objects, consider taking multiple shots from different angles to showcase all relevant aspects and details.
Post-Processing Your Artwork Images
Post-processing is where final adjustments are made to ensure accuracy and presentation quality. Use non-destructive editing software that supports RAW files.
Basic Adjustments: Cropping and Straightening
Crop the image precisely to the edges of your artwork, maintaining perfect rectangularity. Use guides or grids in your editing software to ensure the artwork is perfectly straight and level. Remove any visible background elements or camera setup components.
Color Correction and White Balance
This is the most critical step. Use the gray card or color checker shot to set a custom white balance, ensuring neutral grays and accurate colors. Adjust saturation and vibrance minimally, aiming for true-to-life representation rather than exaggerated colors. Calibrate your monitor regularly to ensure what you see on screen accurately reflects the image data.
Resizing and Exporting for Portfolios
Export images in appropriate formats and resolutions for their intended use. For online portfolios, a JPEG file at 72 dpi with a long edge of 1500-2000 pixels offers a good balance of quality and fast loading times. For print portfolios or high-resolution submissions, retain TIFF or high-quality JPEG files at 300 dpi. Always save a master, unedited RAW file and a high-resolution edited version.
Optimizing Your Portfolio Presentation
Consistent, high-quality photography across your entire portfolio reinforces professionalism. Maintain a uniform aesthetic in your images, reflecting a cohesive body of work. Regularly review and update your portfolio with your latest and strongest pieces, ensuring each image meets the highest photographic standards. This ongoing commitment to visual excellence directly supports your artistic and commercial objectives.
Frequently Asked Questions
How can I avoid glare on glossy artwork?
Use two diffused light sources positioned at 45-degree angles to the artwork. Ensure your camera is perfectly parallel to the piece, and use black flags or cards to block any ambient light sources causing reflections.
What's the best way to ensure color accuracy?
Manually set your camera's white balance using a gray card or color checker placed next to the artwork during a test shot. Calibrate your monitor regularly to ensure accurate color representation during post-processing.
Should I use a flash to photograph my artwork?
Direct on-camera flash is generally not recommended as it creates harsh reflections, uneven lighting, and flat, unappealing results. If using external flashes, diffuse them heavily and position them carefully, similar to continuous artificial lights.
What file format is best for my online portfolio?
For online portfolios, high-quality JPEG files are standard. They offer a good balance between image quality and file size, ensuring faster loading times. For print or archival purposes, TIFF or uncompressed JPEG are preferred.