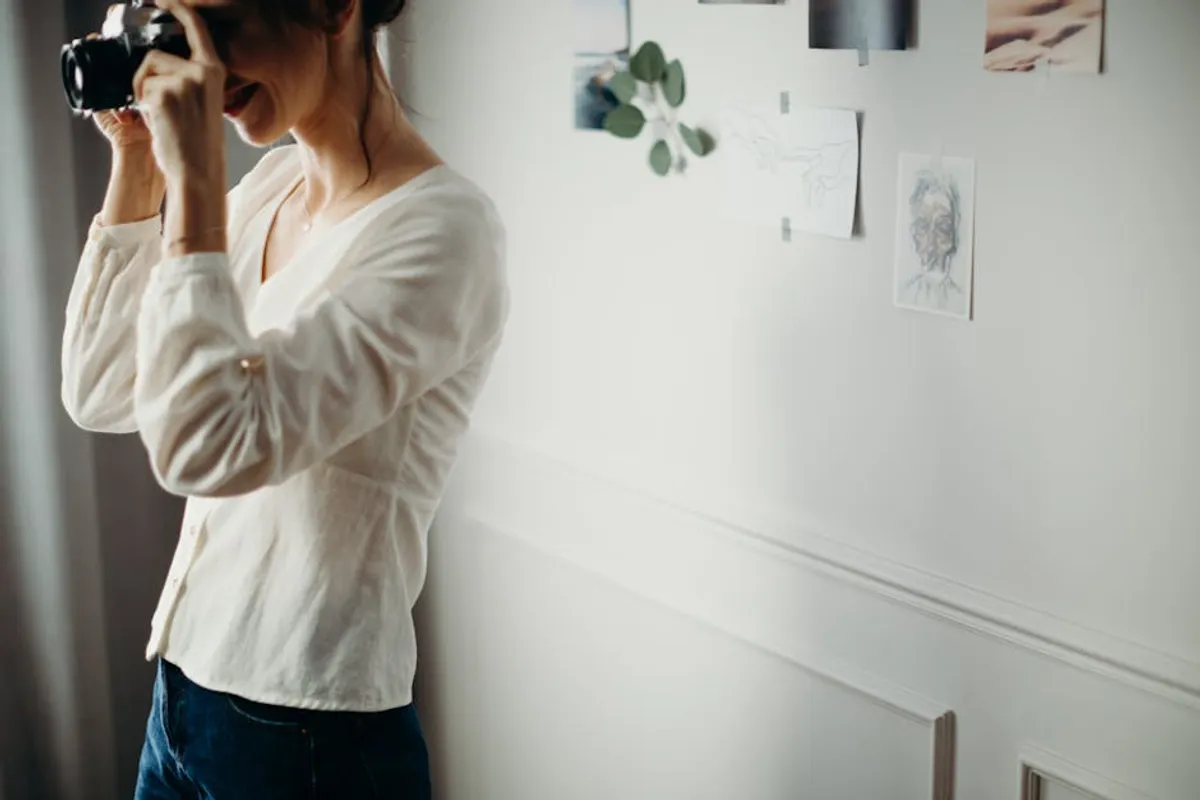
Presenting artwork online effectively requires more than just a snapshot; it demands a deliberate photographic process that accurately translates physical pieces into digital assets. For artists, galleries, and online retailers, high-quality imagery is directly tied to credibility, engagement, and ultimately, sales. Poor photography can misrepresent colors, obscure details, and diminish perceived value, leading to customer dissatisfaction and missed opportunities. Conversely, clear, color-accurate, and well-lit images build trust and encourage closer inspection, mirroring the experience of viewing the artwork in person as closely as possible.
Preparing Your Artwork and Space
Before any camera work begins, ensure the artwork itself is pristine. Dust, smudges, or fingerprints on the surface will be magnified in photographs. Use appropriate cleaning methods for the medium—a soft, lint-free cloth for paintings, a gentle brush for sculptures. The shooting environment also dictates quality. Choose a clean, uncluttered space with ample room to position lights and camera. A neutral background, such as a plain white, gray, or black wall or seamless paper, isolates the artwork, preventing distractions and allowing its details to stand out. Consistency in background choice across multiple pieces reinforces a professional brand image.
Mastering Illumination Techniques
Lighting is the single most critical factor in photographing artwork. The goal is even, diffused light that reveals texture without creating harsh reflections, glare, or shadows. Natural light, specifically indirect daylight from a large window, often provides the softest and most accurate illumination. Position the artwork parallel to the window, ensuring no direct sunlight hits the surface, which causes blown-out highlights and color shifts.
For artificial lighting, a two-light setup is generally recommended, often using softboxes or diffused continuous lights positioned at 45-degree angles to the artwork. This cross-lighting technique minimizes shadows and provides uniform coverage. Avoid using your camera's built-in flash, as it produces harsh, direct light that flattens images, creates hot spots, and casts strong shadows.
Pro Tip: For highly reflective surfaces like glazed paintings or framed pieces, polarization filters on both your lights and camera lens can significantly reduce glare. Rotate the filter on your lens while observing the live view to find the optimal angle for glare suppression.
Optimizing Camera Settings for Accuracy
Regardless of whether you use a smartphone or a dedicated camera, specific settings will yield superior results:
- Tripod Use: Essential for sharp images and consistent framing. It eliminates camera shake and allows for lower ISO settings, reducing digital noise.
- Aperture (f-stop): For flat artwork, an aperture between f/8 and f/11 provides sufficient depth of field to ensure the entire piece is in sharp focus. For three-dimensional art, adjust based on desired depth of field.
- ISO: Keep ISO as low as possible (e.g., 100 or 200) to minimize image noise and maximize detail. This is where a tripod becomes invaluable, allowing for slower shutter speeds.
- White Balance: Crucial for accurate color representation. Do not rely on automatic white balance. Use a custom white balance setting by photographing a neutral gray card or white balance card under your specific lighting conditions. This ensures true-to-life colors.
- Focus: Manually focus on the artwork's sharpest point. For flat pieces, ensure the entire surface is in focus.
- File Format: Shoot in RAW format if your camera allows. RAW files capture the maximum amount of image data, providing greater flexibility for color correction and exposure adjustments in post-processing without loss of quality.
Composing and Capturing Detail
Position your camera directly in front of the artwork, ensuring the lens is parallel to the piece to avoid distortion. Use grid lines on your camera's display to help align the artwork squarely within the frame. Capture full-frame shots that show the entire piece from edge to edge. Additionally, include several detail shots that highlight texture, brushstrokes, or intricate elements. These close-ups provide a richer viewing experience and can be crucial for conveying the artwork's unique characteristics online. For three-dimensional works, photograph from multiple angles and consider including a scale reference, like a common object, in one of the context shots.
Post-Processing for Web Presentation
Post-processing refines your images, correcting minor imperfections and optimizing them for online display. This stage is about enhancement, not alteration. Tools like Adobe Photoshop or GIMP are standard for these tasks:
- Cropping and Straightening: Precisely crop the image to remove extraneous background and ensure the artwork is perfectly aligned.
- Color Correction: Adjust white balance, saturation, and hue to match the original artwork's colors as closely as possible. Use a calibrated monitor for accurate color representation.
- Exposure and Contrast: Fine-tune brightness and contrast to reveal details without blowing out highlights or crushing shadows.
- Sharpening: Apply a subtle sharpening filter to enhance definition, but avoid over-sharpening, which can introduce artifacts.
- Dust and Blemish Removal: Use spot healing or cloning tools to eliminate any dust, lint, or minor imperfections that may have been captured.
Optimizing Images for Website Performance
Once your images are perfected, they need optimization for web delivery. Large image files slow down page loading times, negatively impacting user experience and search engine rankings. The goal is the smallest possible file size with acceptable visual quality.
- Resizing: For most websites, images between 1200 and 2000 pixels on their longest side are sufficient for high-quality display without excessive file size. Provide multiple sizes if your platform supports responsive images.
- File Format: JPEG is generally preferred for photographs due to its efficient compression. PNG is better for images with sharp lines, text, or transparency, though its file sizes are typically larger. Avoid TIFF or BMP for web use.
- Compression: Use image optimization tools or software's "Save for Web" functions to compress JPEGs. Aim for a quality setting that reduces file size significantly without visible degradation.
- Alt Text: Write descriptive alt text for every image. This improves accessibility for visually impaired users and provides valuable context for search engines, aiding discoverability. Describe the artwork, its medium, and key visual characteristics (e.g., "Abstract oil painting with bold red and blue brushstrokes on canvas").
Ensuring Online Consistency and Impact
The effort invested in photographing artwork translates directly into a more professional online presence. Consistent lighting, framing, and color accuracy across all your listings build a cohesive brand identity and instill confidence in potential buyers. Regularly review your online images on different devices and screen types to ensure they render correctly and maintain their intended visual impact. High-quality visuals are not merely an aesthetic choice; they are a fundamental component of effective online commerce for artists and galleries.
Frequently Asked Questions
What is the ideal resolution for artwork photos on a website?
While the original capture should be high resolution (RAW), web display typically requires images resized to 1200-2000 pixels on the longest side at 72 PPI. This balances visual quality with fast loading times.
How can I ensure color accuracy between my physical artwork and its digital image?
Use a custom white balance during shooting, photograph under consistent, diffused lighting, and perform post-processing on a color-calibrated monitor. Consider using a color checker chart in one of your reference shots to aid in precise color correction.
Is it acceptable to use a smartphone camera for photographing artwork?
Modern smartphones can produce good results, especially in well-lit conditions. Ensure you use a tripod, disable flash, manually control exposure and white balance if possible, and utilize editing apps for post-processing. For professional galleries, a dedicated camera offers more control and higher fidelity.
Should I include context shots of the artwork?
Yes, context shots—showing the artwork in a room setting or alongside a common object for scale—help potential buyers visualize the piece in their own space and understand its size. These complement the primary, full-frame shots.